
Lesson 3
Here are the pictures for this chapter: http://www.mediafire.com/download.php?zeqci5yc6ayglor
You have finished your texture, but only part of the project is finished. There are several "maps" which you must make for your creation to be good content and not something that will mess up games.
In this lesson we will create a RGB mask so you can make two parts of the thong recolorable. RGB=Red Green Blue! When you read that an item is recolorable in one or more channels, the creator is referring to the Red, Green, and Blue channels. There is also an Alpha Channel, but it has special properties the others do not have. Btw, the colors are merely the name of the channels and does not refer to the actual colors.
Ok, let's get started! Open your GIMP. Go to "File" then "Open." Browse for your .dds file. NOT the .xcf file or the TSRW file. When you load the .dds file, make sure the box "Load mipmaps" is NOT checked.
Tip: When you export a file, you want to check the Load Mipmaps box. Whenever you import a file, that box should NOT be checked.
Tip: When you export a file, you want to check the Load Mipmaps box. Whenever you import a file, that box should NOT be checked.
The plan is to make the borders of the thong bikini a different color, so we can have two recolorable channels. In other words, we are going to make a special map which will make it possible to put two different colors on the bikini.
To get started, click on the free select tool. Draw inside the borders of the front of the thong as shown below. If you have difficulty drawing straight lines, you might want to place some helplines to guide you.

Go to the top menu. Select "Layer" - "New Layer."

A dialog window will pop up. Type in a name for the layer. I chose to name my layer "Green" because this is the layer for the green channel. Make sure the layer size is 1o24x1o24px. If it is not already selected, select Transparency. Push "OK."

Now, go to your dock titled "Layers-Brushes." Click on the eye next to your background layer. This will make the background layer disappear from view although it is still active. Then click on the "green" layer.

Your screen should now look like this.

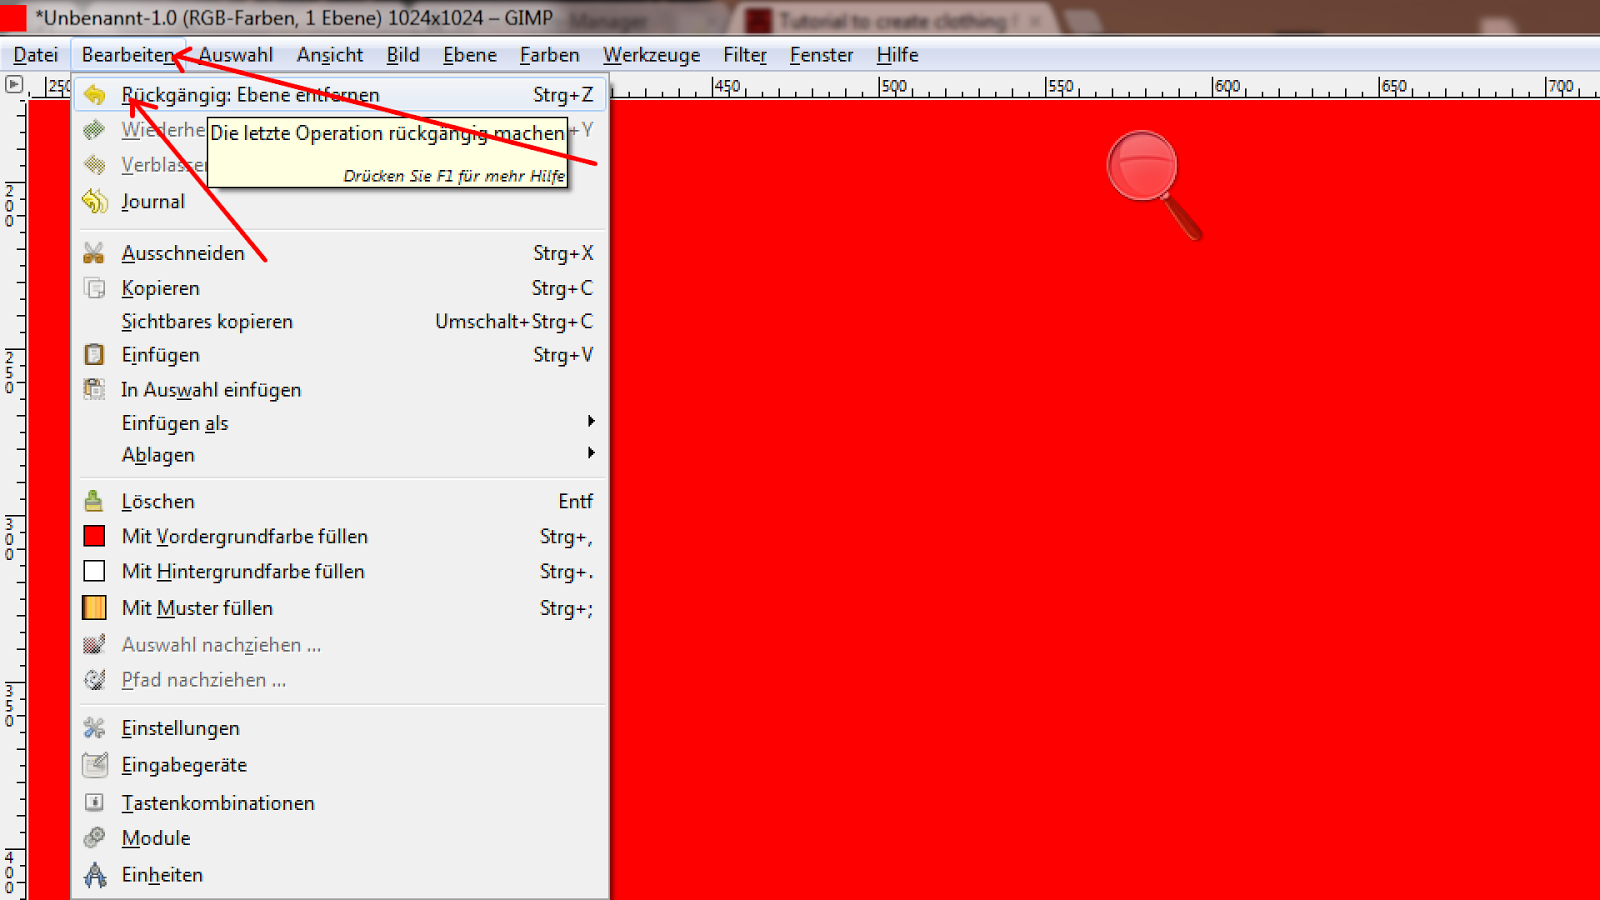
Now go back to your Toolbox dock. Change the color field to red. (Don't worry. We will change it to green in a moment.) Click on the "Fill" button. Select "FG Color Fill" and "Fill whole selection." The location of these selections are shown below, although the words are in German. Now click on the color field again to open the Change Foreground Color box if it is not already open.

Change the number on the "R" line to zero. You can use the arrows or highlight and type in zero.

Change the rest of the color values to zero.

Next, put the green value back up to 255. Make sure the "R" and "B" lines are still at zero. Click "OK." Now look at the color field in your Toolbox dock. It should be a bright green.

Your "Fill" button is probably still selected, but if not, click on your "Fill" button. Then click inside the thong. It should turn bright green!

Go back to your Layers dock and click on the background layer. Next, right click on the layer and select "Delete layer." Don't worry, we will undo this edit after a few more steps.

Now, click on "File" and then "Export."

Type in a name for the file. I named it "green mask." Make sure it is exported as a .dds file!

In the popup window, select BC3/DXT5 from the dropdown menu for "Compression." Check the box "Generate mipmaps," then press "OK."
Tip: You will always set your compression to that set of numbers for all of your .dds files that you export.

Now go to the top menu and select "Edit." Next, select "Undo Remove Layer." This will bring back your background layer, although you still cannot see it.

Next, you want to click on the little box to the left of the background layer. The layer and the eyeball should reappear. Now, select the green layer. Right click on this layer and delete it. You have already exported it as the "Green Mask" so you are done with it.

Now, click on the Color Picker tool and then click on your strap texture. This should turn the color field gray.

Click in the color field box to reopen the color dialog box if it is not already open.

Use the down arrow to make the gray a little darker.

Now, click on your Fill button again and click inside the main part of the thong.

It should now look like this.

Now, we will do the back side of the thong. Use the free select tool to make a border like you did on the front side.

Click on the "Fill" button and fill the texture with the same gray color you used for the front.

Go to the top menu and choose "File" - "Open as layer". Search for "Green mask.dds", then press "Open". Be sure that the box for "Load mipmaps" is NOT checked.

Your green mask now is placed over your background texture. Your screen should look like this.

We will now make the green mask for the back of the thong. The first thing to do is to go to your Layers dock and click on the eye icon next to your ground layer, which is the second layer. This will make your ground layer invisible.
Since your ground layer is invisible, you should see a blinking line. Select the mask layer.

Use the fill tool to fill the selected field with the green color. You are using the same process you used to make the green mask for the front of the bikini.
Tip: If you use the fill tool and nothing shows up, check your Layers dock. Sometimes the program selects the ground layer again, even if you have selected the mask layer. If the ground layer has been selected, be sure to hit "Edit" "Undo Fill." Then, select the mask layer and try it again.
Your screen should now look like this.

Just as you did before, delete your ground layer. Export the new green mask layer as a .dds file. Use the same compression ratio and check the mipmaps box. You can overwrite or replace the prior green mask.
Go to the top of your screen. Select "Layer" and then "New Layer." Type a name for the new layer. I named it "red" because this will be the red channel. The layer should be the same size as before and be transparent.

Go back to the top of your screen. Press "Select" and then choose "None" from the dropdown menu.

Then make the green layer invisible (the eye symbol).

Make sure your color field at the bottom of the toolbox is set to red.

Click on the"Fill" tool and then click in the layer. The entire layer should be red.


Click on the"Fill" tool and then click in the layer. The entire layer should be red.

Delete the "Green mask" layer, and export the red layer as "Red mask.dds".

Go to "Edit." Choose "Undo delete layer" from the dropdown menu.

Go to "Edit." Choose "Undo delete layer" from the dropdown menu.
Select the "red" layer. If you look a little below the icons for the layers, you will see a tiny toolbar. Click on the downward green arrow. This will make the red layer move to below the green layer.

Now, select the green mask. Right click on the layer. Choose "Merge down" from the dropdown menu.

Now, your screen should look like this.

Go to "File" - "Export" and type in a name of the new file. I used "boyshorts mask.dds".

Now start the TSR Workshop and open your saved project.
Go to the "Texture" Tab and click in the "Mask" field, then press "Edit".
Import the file "Boyshorts mask.dds".
If it looks like the picture, your job is well done.

Save your project in TSR Workshop.
Save your project in Gimp WITH A NEW NAME. You will need your older project later.

Save your project in TSR Workshop.
Save your project in Gimp WITH A NEW NAME. You will need your older project later.
End of Lesson 3.
No comments:
Post a Comment